Mar 17, 2017Driving Force
Despite being the source for so many athletic movements, power rarely gets the attention it deserves in training programs. This author’s “three pillars of power” philosophy looks to change that.
This article first appeared in the March 2017 issue of Training & Conditioning.
Think about different athletic movements, such as a high jumper leaping over a bar, an offensive lineman pushing a defender back, or a golfer swinging a club. Each one requires power, but that power must be developed and applied in very specific ways.
When it comes to strength work, performance coaches often use a movement-based framework to ensure all their bases are covered. Power training, however, does not have one simple, go-to plan.
To fill this gap, I developed the concept of the “three pillars of power.” The pillars are: vertical or diagonal power (as illustrated by the high jumper in the above example), horizontal power (the lineman), and rotational power (the golfer). Together, the three pillars provide the foundation for all explosive actions.
The significance of the three pillars of power idea is that it provides a simple, yet fully comprehensive power training regimen. It is scientifically based (see note on references at end of article), practical, and it can help strength coaches organize and prioritize total-body, specific-to-sport power training exercises.
An added bonus of the three pillars is that all strength coaches can benefit from using the concept. It provides newer professionals with a simple, plug-and-play plan for power training. Meanwhile, the pillars give seasoned veterans a new way to think about and structure their power training programs.
FOUNDING PRINCIPLES
Let’s start with a simple equation: Power = Strength × Speed. Therefore, power training should focus on improving an athlete’s rate of force development-that is, how quickly they can move a load.
Whether vertical or diagonal, horizontal, or rotational, athletic movements are not driven by strength and power generated in one specific area of the body. Rather, they require the combination of individual muscles working in a smooth, coordinated sequence.
Similarly, the three pillars of power movements use as many muscles as possible in a sequential and explosive manner to obtain maximal force. For this reason, one of the goals when training the three pillars should be to improve total-body power in all directions.
As I mentioned at the beginning of this section, speed is also a primary factor in power. Athletes should do more than move against high loads (i.e., strength exercises) to improve their explosiveness. They must do these actions at a high speed, as well.
For this reason, the three pillars approach emphasizes movement speed in addition to total-body power. I have found that three pillars exercises, like jumps and medicine ball throws, closely match the force-production patterns of fast, ballistic, sport-type actions. Several studies have shown that these movements involve what is called a “triphasic muscle-firing pattern” of predominantly burst-like muscle activation.
This has significant implications on power programming and exercise selection because it demonstrates that the fast, ballistic actions common to sports involve different neuromuscular coordination patterns than the slower movements commonly found in strength training. Therefore, in order to better adapt to and refine the triphasic muscle-activation pattern, strength coaches should incorporate fast, ballistic exercises into their regular power training.
Along with training the total body and movement speed, a key component of the three pillars approach is being specific to sporting actions. As explained by Everett Harman, PhD, in the NSCA’s Essentials of Strength Training and Conditioning: “The simplest and most straightforward way to implement the principle of specificity is to select exercises similar to the target activity, with regard to the joints about which movement occurs and the direction of the movements. In addition, joint ranges of motion in the training should be at least as great as those in the target activity.”
With this in mind, pillars of power exercises are categorized as specific, not because they load the skills required in any given sport, but because they replicate the force generation and neuromuscular coordination patterns that form the foundation of all explosive sport actions. Training each of the three pillars using total-body, high-speed power exercises enhances the body’s ability to summate force using all of its levers-legs, hips, torso, and arms. This transfers directly to all explosive actions, regardless of the individual sport skill being executed.
However, while the three pillars of power concept focuses on specificity, its exercise applications are not meant for sport-based skills. Working on sport skills with specific exercises is not the same thing as working to improve specific force generation and neuromuscular coordination patterns that transfer into targeted athletic movements, as the three pillars of power are designed to do.
Unaware of this distinction, some strength and conditioning professionals advise athletes to perform what they call “sport-specific” or “functional” exercises. Examples might include attaching a resistance band to a golf club or shadowboxing with bands strapped around an athlete’s back. Loading sport skills in this manner misapplies the principle of specificity.
PUT INTO ACTION
Now that we’ve covered the theory behind the three pillars, let’s move on to the practice. For best results, strength coaches should incorporate at least one total-body, specific power exercise in a weekly training plan for each of the three pillars. Here are three exercises that could be included to address the pillars equally:
• Vertical/diagonal: Squat jump with arm drive, 4 to 6 sets of 4 to 6 reps
• Horizontal: Medicine ball step-and-push throw, 4 to 6 sets of 4 to 6 reps
• Rotational: Medicine ball horizontal punch throw, 4 to 5 sets of 4 to 5 reps per side.
Although a comprehensive power training program should address all three pillars, I recommend emphasizing certain ones more than others based on the needs of the individual athlete and their sport. For example, if a strength coach wanted to focus on the rotational pillar for a baseball player, they would simply devote more training time to that pillar. Here’s a sample workout to accomplish this:
1a. Vertical/diagonal: Squat jump with arm drive, 3 sets of 3 to 5 reps
1b. Rotational: Medicine ball horizontal punch throw, 4 sets of 4 to 5 reps per side
2a. Horizontal: Medicine ball step-and-push throw, 3 sets of 3 to 5 reps
2b. Rotational: Medicine ball side-scoop horizontal throw, 4 sets of 4 to 5 reps per side.
This workout uses paired sets, so exercises categorized as “1” and “2” should be performed in pairs. Athletes should complete all indicated sets and reps for a given pair before moving on to the next movement.
SELECT EXERCISES
The exercises featured in this section enable strength coaches to enhance athletes’ ability to summate force in an explosive manner for all three pillars of power. Since space prevents me from providing an exhaustive list, I’ve included my top two exercises for each of the three pillars. I use these particular movements most often because they don’t involve any special equipment and are easy for athletes to learn.
Vertical/diagonal: Squat jump with arm drive
Setup: The athlete stands with feet roughly shoulder-width apart.
Action: The athlete squats by bending at their knees and hips so that their thighs are just above parallel to the ground. They reach their arms slightly behind their hips, keeping their elbows slightly bent (see Figure 1.1). The athlete jumps straight up by simultaneously extending their legs and swinging their arms above them (see Figure 1.2). They land as lightly and quietly as possible, returning to the starting position.


Figure 1.1 Figure 1.2
Coaching tips: Make sure the athlete jumps as high as they can on each repetition. Each time the athlete squats, they should keep their knees in line with their toes-their knees should not come toward one another at any time. Do not allow the athlete’s back to round out at the bottom of each repetition. To add load to the exercise, have them wear a weighted vest.
Vertical/diagonal: Medicine ball diagonal squat push throw
Setup: The athlete stands with their feet shoulder-width apart and holds a medicine ball weighing three to six kilograms (about 6.5 to 13 pounds) at their chest with their elbows underneath the ball.
Action: They lower their body as if doing a dead lift by shifting their hips backward and bending their knees so that their thighs become roughly parallel to the floor and their torso leans slightly forward (see Figure 2.1). The athlete explodes out of the bottom position and simultaneously extends their arms and legs to launch the ball diagonally out in front of them at a 45-degree angle (see Figure 2.2). As the athlete throws the ball, their forward lean causes them to jump forward, after which they walk toward the ball to retrieve it for the next repetition.


Figure 2.1 Figure 2.2
Coaching tips: On each throw, the athlete should explode out of the starting position as fast as they can while throwing the ball as hard as they can. At the end of each throw, their feet should leave the ground, and their body should be fully extended with their arms overhead.
Horizontal: Medicine ball step-and-push throw
Setup: The athlete stands with their feet hip-width apart while holding a medicine ball weighing three to six kilograms at chest level. Their elbows are positioned by their sides underneath the ball, and their fingers point toward their target (see Figure 3.1).

Figure 3.1
Action: They lunge forward with their right leg and simultaneously use both hands to explode the ball away from their chest in a pushing action (see Figures 3.2 and 3.3). Then, they reset and repeat the throwing action while lunging with their left leg. Alternate legs on each rep.


Figure 3.2 Figure 3.3
Coaching tips: The athlete should keep their elbows close to their sides when throwing to maximize power and minimize stress on their elbow joints. If throwing against a wall, have the athlete stand far enough away for the ball to bounce at least once before it reaches them after each rep.
Horizontal: Lateral power shuffle
Setup: Place two cones about 20 to 30 yards apart. The athlete assumes an athletic stance next to one of the cones with their feet shoulder-width apart and their knees and hips slightly bent.
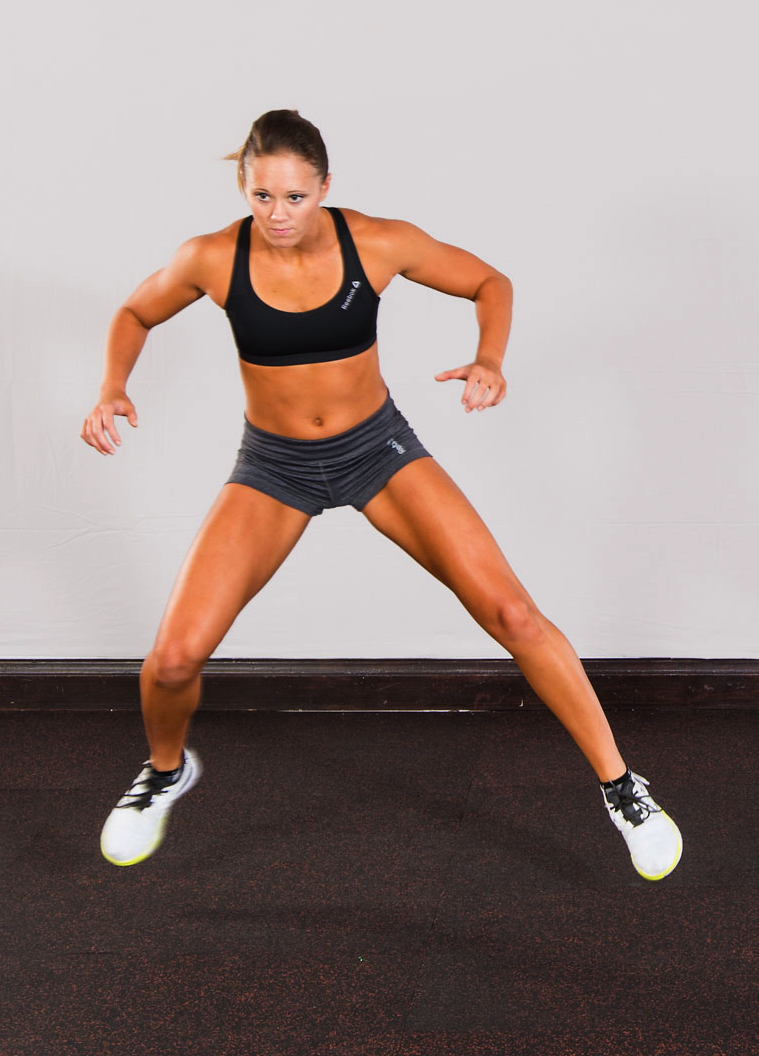
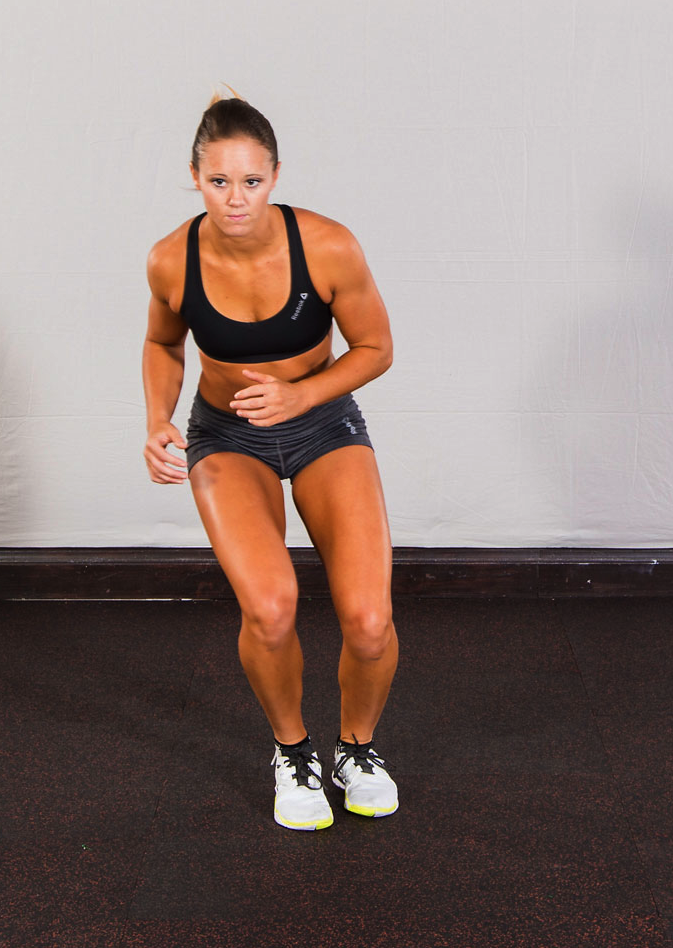
Action: The athlete shifts their weight toward the second cone, picking up their trail foot and explosively pushing their lead foot into the ground to start shuffling. While shuffling, the athlete’s feet remain parallel with one another, and their toes face forward (see Figures 4.1, 4.2, and 4.3). Once they reach the second cone, they reverse direction by shifting their weight off of their lead leg, pushing off with their trail foot, and shuffling back to the starting point.


Figure 4.1 Figure 4.2 Figure 4.3
Coaching tips: Do not allow the athlete’s feet to touch one another. Have them try to get from one cone to the other using as few strides as possible. Instruct them to land softly on each stride, allowing their legs to bend slightly on each landing.
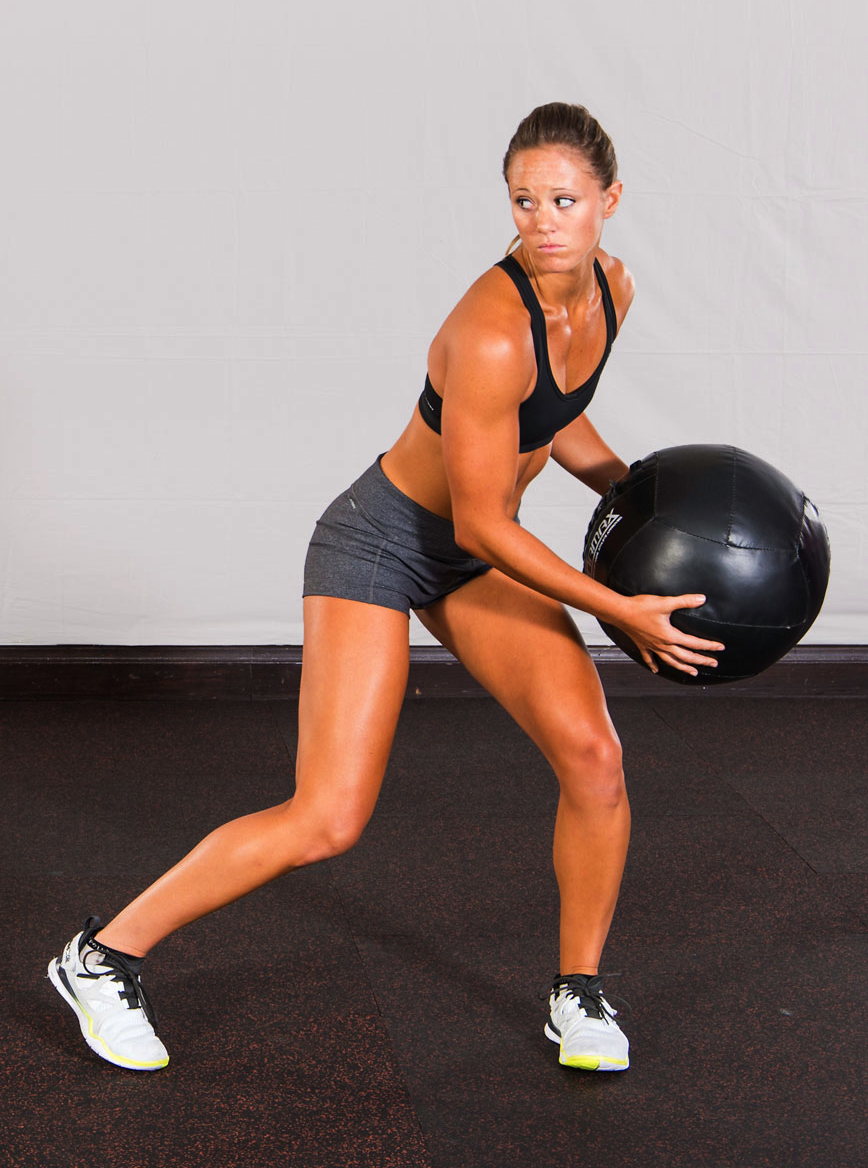
Rotational: Medicine ball side-scoop horizontal throw
Setup: The athlete stands perpendicular to a wall at their right side with their feet shoulder-width apart and their knees slightly bent. They hold a medicine ball weighing three to five kilograms (6.5 to 11 pounds) with both hands by their left hip (see Figure 5.1).

Figure 5.1
Action: The athlete shifts their weight to their left leg while hinging forward slightly at their hips. By lifting their right heel off of the ground, they allow their right foot to rotate slightly and point toward their left side. They explosively shift their hips toward the right while turning their hips and shoulders to throw the ball horizontally, using both hands in a scoop-like motion (see Figure 5.2). They perform required reps on one side before switching sides.

Figure 5.2
Coaching tips: Make sure the athlete keeps their back in good alignment when setting up each throw, and their elbows should be slightly bent throughout. As they throw, they should lift their back heel off the ground and rotate in the same direction as they’re throwing by pivoting on the ball of their foot. If the athlete is throwing against a wall, have them stand far enough away from it that the ball can bounce back to them after each rep.
Rotational: Medicine ball horizontal punch throw
Setup: The athlete stands perpendicular to a wall with their feet shoulder-width apart and their knees slightly bent. They position their front foot (the one closest to the wall) at about a 45-degree angle and point their back foot straight ahead. With their torso upright, they hold a medicine ball weighing three to five kilograms at their chest with their elbows pointed outward (see Figure 6.1).

Figure 6.1
Action: The athlete explosively rotates their hips and shoulders simultaneously toward the wall while extending their rear arm to throw the ball horizontally, as if throwing a punch (see Figure 6.2). They allow the ball to bounce back to them and then reset their position for the next repetition. They perform all reps on one side before facing the other direction and performing the exercise from the opposite side.

Figure 6.2
Coaching tips: The athlete should keep their rear elbow parallel to the floor before each rep and throw the ball at the wall as hard as they can. Instruct the athlete to allow their back foot to rotate toward the wall as they throw. The athlete should begin each rep with most of their weight shifted away from the wall and finish with most of their weight on the leg closest to the wall and their rear heel off the ground. Have them stand far enough back from the wall so that the ball bounces at least once before it returns to them after each throw.
These exercises, along with the many others that fit in the three pillars of power concept, enable strength coaches to build a total-body, specific power training framework. With this tool at a coach’s disposal, athletes will benefit.
To view the references for this article, go to: Training-Conditioning.com/References.


